iCam Photogrammetry
Precise Data for Full-Arch Implant Cases
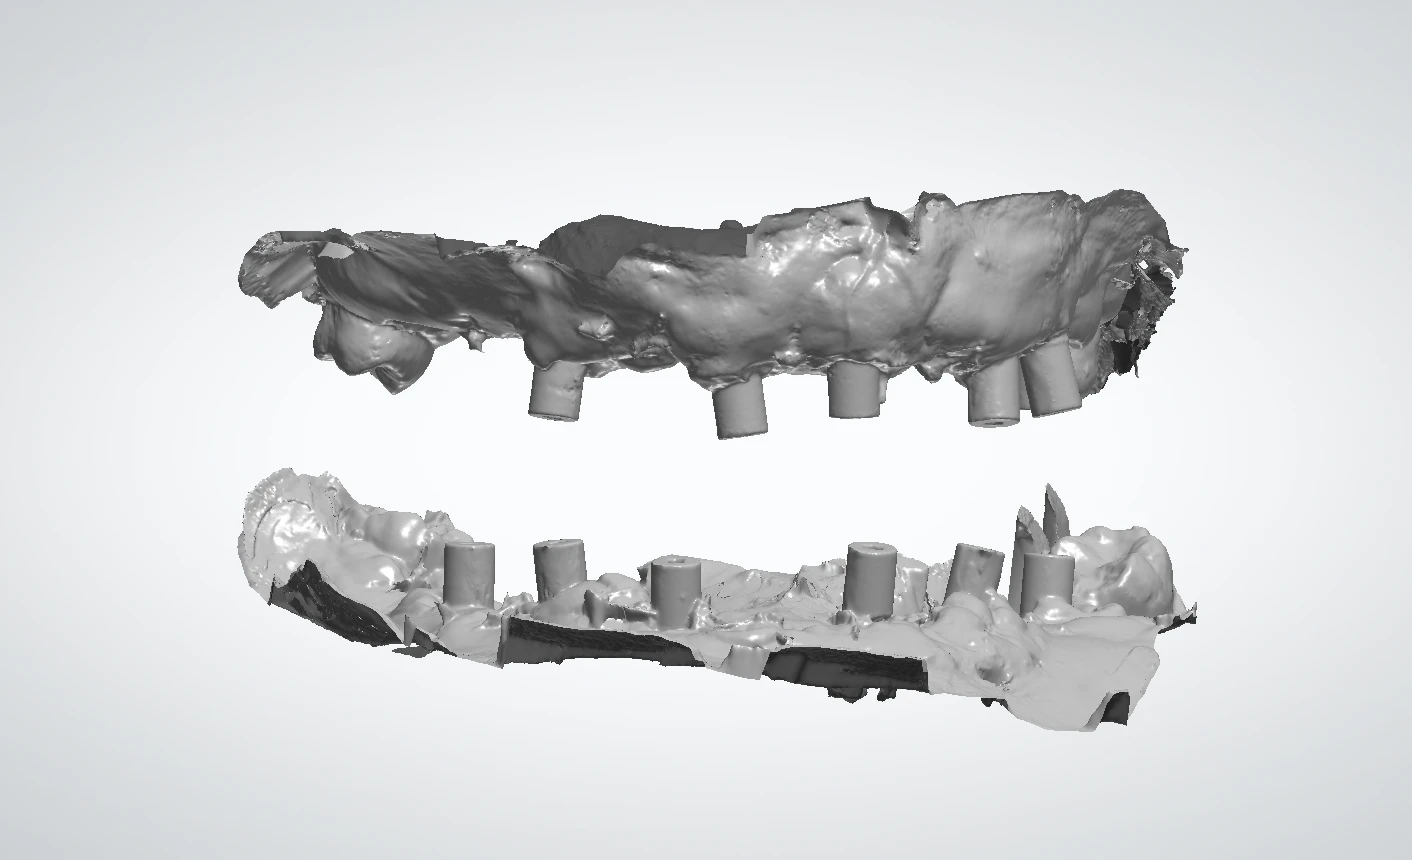
Dental photogrammetry records the three-dimensional position and angulation of multiple implants without relying on a stitched full-arch implant scan alone. The resulting position file can be paired with intraoral scans of soft tissue and anatomy to give our team a coordinated digital record for restorative planning.
Perfect Smile works with your practice before design and fabrication to confirm the implant system, required records, file types, and restorative goals for each case.
Photogrammetry Workflow
Follow the applicable denture or loaded-prosthesis pathway and complete each required capture in order.
-
Take Photos
The patient must be in a standing position.
- Full face and smile
- Full face with exaggerated smile
- Full face profile smile (optional)
-
Remove the Prosthesis or Denture
Carefully remove the patient's prosthesis or dentures to expose the Multi-Unit Abutments (MUAs).
-
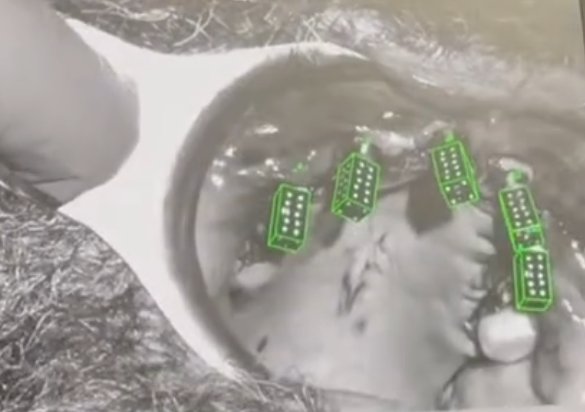
Seat the Photogrammetry Scan Bodies
Seat the Photogrammetry Scan Bodies passively onto each MUA, ensuring that they fit securely without applying excessive force. This step is crucial for capturing accurate data during the scanning process.
-
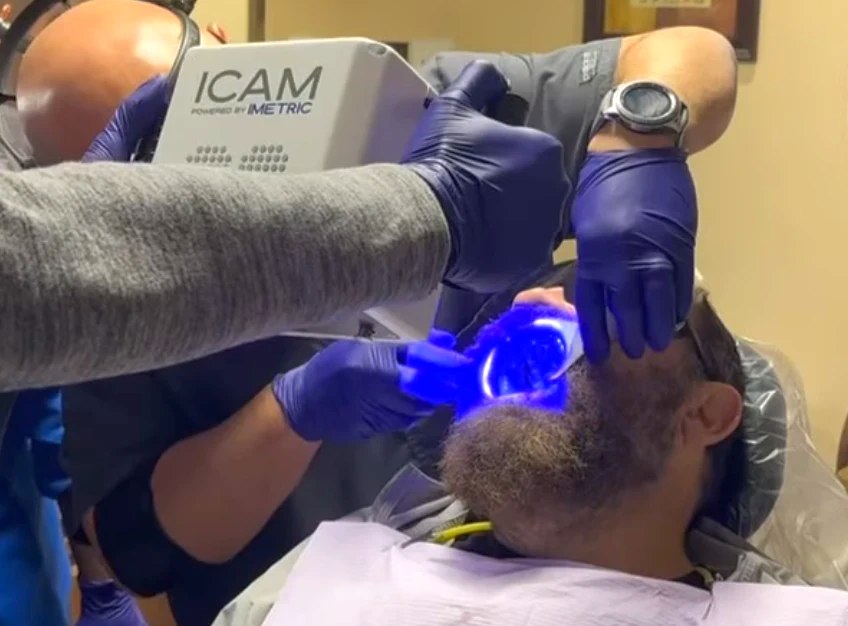
Complete the Photogrammetry Scan
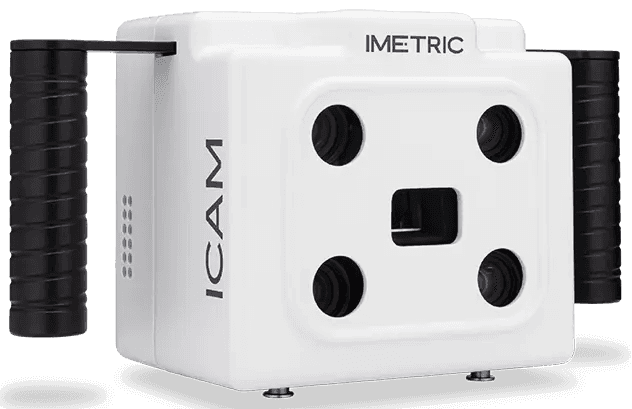
Scan using the iCam photogrammetry equipment. The scan takes only 3–5 minutes.
Denture Case? View Additional Steps Expand to view steps 5–8 and the additional denture scan.
-
Place the Healing Caps
Place the healing caps onto the Multi-Unit Abutments (MUAs). Ensure that the healing caps are seated passively and securely. This step is crucial for maintaining tissue health and preparing for subsequent scanning processes.
-
Try In the Denture
Ensure full seat over the healing collars. Adjust the denture as needed for passive seat.
-
Perform a PVS Wash
Perform a PVS wash (not Blue Mousse) to capture the detail of all the healing collars, ensuring that they are in occlusion. Remove the denture carefully to avoid disturbing the captured impressions.
-
Perform a 360-Degree Denture Scan
Scan the denture outside the patient's mouth with your Intraoral Scanner (IOS). This scan should capture the entire surface area of the denture, providing a comprehensive view that can be used to ensure the best possible fit and function.
Perform a detailed scan of the denture, focusing on the teeth and labial flange. This scan is essential for assessing the esthetics and functional alignment of the denture.
-
Scan the Tissue Around the MUAs
Carefully scan the tissue surrounding the Multi-Unit Abutments (MUAs) with your Intraoral Scanner (IOS). Ensure that nothing is seated on the MUAs during this process to capture a clear and precise image of the area. This step is crucial for obtaining detailed data necessary for accurate modeling and planning. If preferred, a PVS impression can also be used as an alternative method.
-
Reseat the Denture or Prosthesis
Carefully reseat the denture or prosthesis onto the Multi-Unit Abutments (MUAs). Check for comfort and fit, making any additional adjustments as needed to ensure proper and passive seating.
-
Capture Intraoral Scans
- Opposing: Scan the opposing arch to ensure the occlusion is aligned correctly with the newly adjusted denture.
- Bite: Capture a scan of the patient's bite to verify that the occlusion is accurate and comfortable for the patient.
Photogrammetry Resources
Download the clinical workflow guide or the iCam overview pamphlet for a quick reference.